How To Metadata?
What Is It?
Metadata can best be defined as data that describes other data. It resides fully off-chain in order to keep networks efficient and scalable.
When it comes to NFTs, metadata describes components that a creator might find important to communicate about the NFT they are selling. This can be the NFT’s properties such as its name, description, and, its attributes (most predominantly in generative series).
That’s great and all but how do I create metadata?
Depending on what kind of NFT series you are launching, you will want to deepen your knowledge about metadata and JSON files to varying degrees. To brush up on your metadata knowledge, click here.
Want to get straight into it? Fret not, as we will be guiding you on how to set up various types of JSON files to get your awesome series ready for the onXRP Launchpad.
The simple answer is, ‘Yes’.
A better question would be, “do I need to upload a JSON file containing my metadata“? The answer to this depends on what kind of project you are launching.
If you have a few NFT art pieces that you’d like to sell, then the answer will most likely be, ‘No’. The ‘Create’ Extension on the onXRP NFT Marketplace will automatically convert your artwork’s title, and, if applicable, attributes into metadata. This extension allows artists to mint their artwork on our platform before setting them up for sale on the secondary market and will be available upon launch.
If you have a large(r) series like a collectible series, then the answer will most likely be, ‘Yes’, since defining characteristics can be an important part of distinguishing each NFT within a larger collection. However, this is not set in stone since artists ultimately decide whether or not to add metadata to their artwork.
In the next segment, we will look at three scenarios: (1) Creating metadata for a project without attributes, (2) creating metadata for a project with attributes, or (3) simply uploading your art.
For scenarios 1, and 2 you will need access to a JSON template which you can download here:
If you have a series of 100 NFTs that you would like to mint through the onXRP Launchpad but do not want to give each NFT individual traits, then follow the next few steps:
- Create a folder named ‘Images’, move all your NFT files in it, and name them 1 to 100 (this is important as it will link the JSON files to it).
- Create another separate folder and name it ‘JSON’.
- Download the ‘Options 1’ file > If the file has another name, rename it to ‘1.json’ > Move it into the newly created ‘JSON’ folder.
- Open file ‘1’ using a JSON-supporting programme (e.g. Visual Studio Code) or Text Edit.
- File Content:
- You can replace the field <description> with a project description if you wish to do so make sure you do not delete the quotations or any punctuation.
- Leave all other fields as they are.
- Press CTRL + S or CMD + S to save the file. Make sure the file is saved as a ‘.json’ file – .txt files will not work.
- Check the JSON formatting by uploading the file here. Use the default settings and press ‘Process’. If the file comes as ‘VALID (RFC 8259)’ then you know your JSON file has correctly been edited.
- If not, copy the newly created JSON text and replace the contents of file ‘1.json’ with them. Save the file.
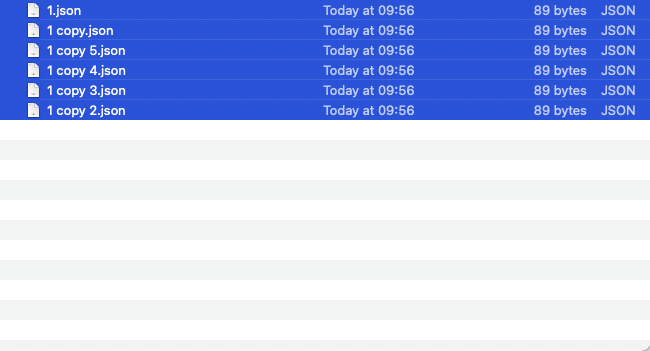
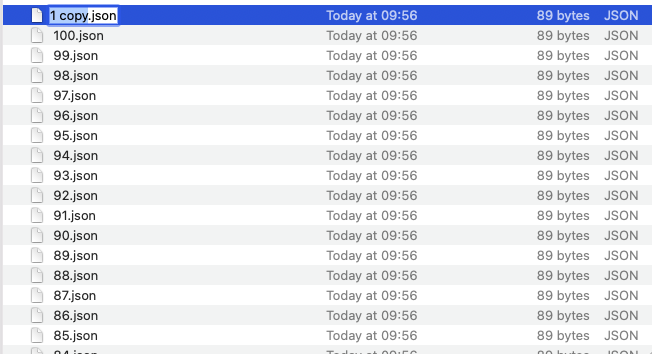
- Open your JSON folder:
- Duplicate the JSON file 5 times.
- Select 1 of the files > Press CTRL + A or CMD + A.
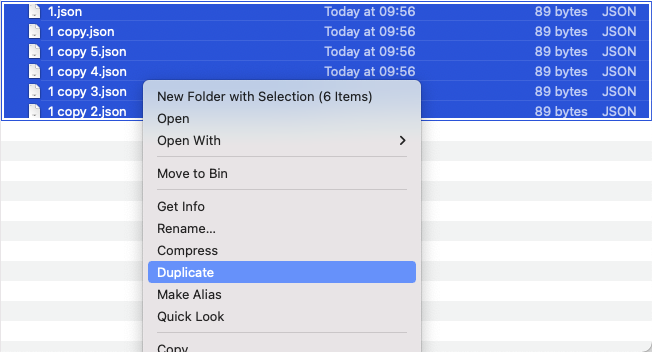
- Duplicate the files – This will create 5 new files.
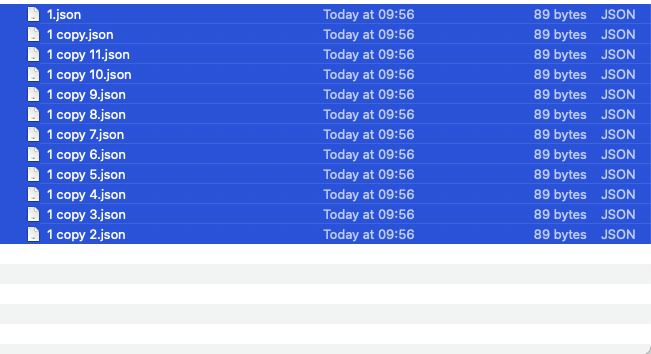
- Repeat until you have 100 files.
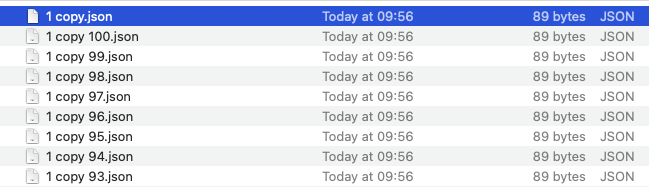
- Delete the original file ‘1.json’ and any redundant files (e.g. ‘1 copy 105.json’ through ‘1 copy 101.json’).
- Renaming on macOS:
- Select 1 of the files > Press CTRL + A or CMD + A.
- Right Click > Rename.
- Fill in ‘1 copy ‘ (remember the extra space after ‘copy’) > Press ‘Rename’ to rename all the files.
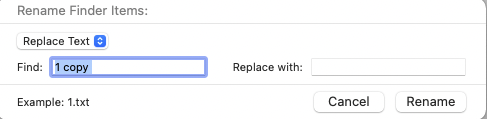
- Rename file ‘1 copy.json’ to ‘1.json’.
- Renaming on Windows: Head to this site for an in-depth explanation.
Congratulations, you now have a set of 100 JSON files ready to be zipped & uploaded to the onXRP Launchpad.
If you have a series that you would like to mint through the onXRP Launchpad and want to give each NFT individual traits, then follow the next few steps:
- Create a folder named ‘Images’, move all your NFT files in it, and name them 1 to 100 (this is important as it will link the JSON files to it).
- Create another separate folder and name it ‘JSON’.
- Download the ‘Options 2’ file > If the file has another name, rename it to ‘1.json’ > Move it into the newly created ‘JSON’ folder.
- Open file ‘1’ using a JSON-supporting programme (e.g. Visual Studio Code) or Text Edit.
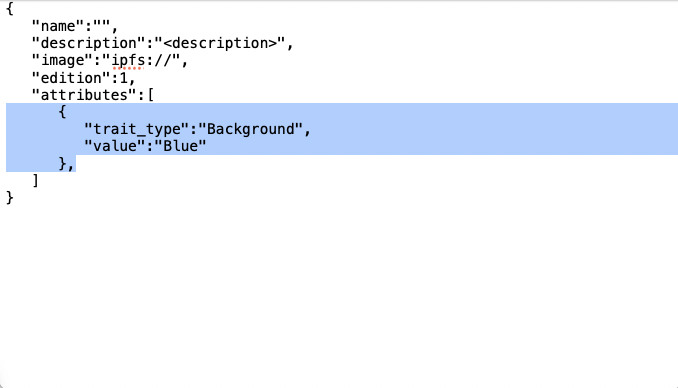
- File Content:
- You can replace the field <description> with a project description if you wish to do so make sure you do not delete the quotations or any punctuation.
- Replace <trait> with the layer name (e.g. Background).
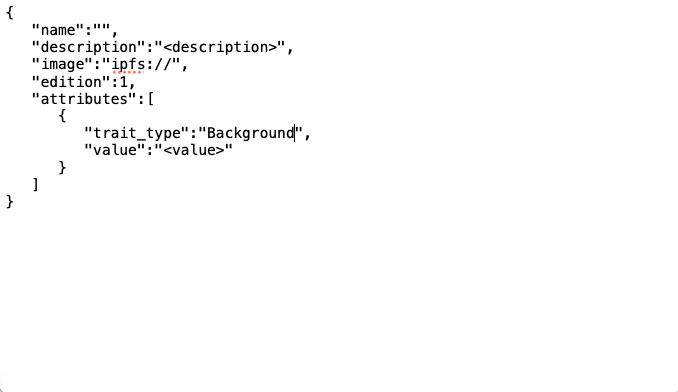
- Replace <value> with the description of that attribute (e.g. Blue).

- If you have more attributes add a comma as seen below:
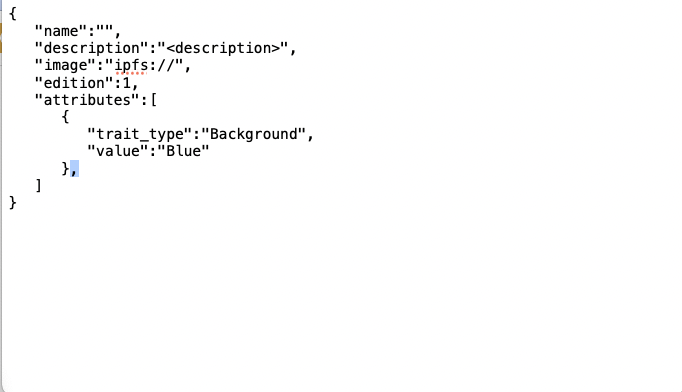
- To add another attribute line: Copy & Paste as follows:
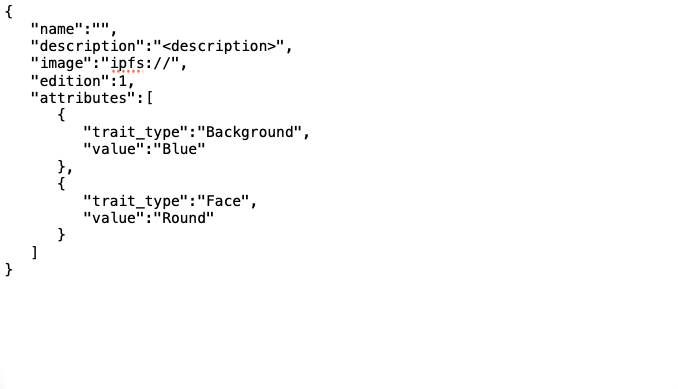
Change the trait_type & value for the attribute in question.
Make sure you delete the comma if it is the last attribute.
- Press CTRL + S or CMD + S to save the file. Make sure the file is saved as a ‘.json’ file – .txt files will not work.
- Check the JSON formatting by uploading the file here. Use the default settings and press ‘Process’. If the file comes as ‘VALID (RFC 8259)’ then you know your JSON file has correctly been edited.
- If not, copy the newly created JSON text and replace the contents of file ‘1.json’ with them. Save the file.
- Duplicate the file > Rename it to ‘2.json’.
- Repeat Step 5 with the trait types & values that match NFT #2. Do this for all your NFTs.
Congratulations, you now have your files ready to be zipped & uploaded to the onXRP Launchpad.
(3) Uploading your art
For this scenario, you do not necessarily need to add metadata. You can simply head to the ‘Create’ section on onXRP where you will be able to upload a singular NFT. There, you can also add attributes manually without needing to upload a JSON file.
If you have multiple pieces, you can repeat the process multiple times until all your pieces have been uploaded/minted.
Compressing Your Files
To compress your files into a single zip file, simply:
- macOS: select the ‘Images’ and ‘JSON’ folders > Right Click > Press ‘Compress’.
- Windows: select the ‘Images’ and ‘JSON’ folders > Send to > Press Compressed (zipped) folder.
Head over to the onXRP Launchpad and complete the application form.


